Showing posts with label colour. Show all posts

Sunday, April 26, 2015

Poncho Dilemma

Help! I have a poncho dilemma!

I am planning to crochet this poncho.
I've even bought the wool and all - Cleckheaton Country 8 Ply in Dijon mustard.

So why haven't I started?

Well I'm not sure about the colour. And then Lincraft had Cleckheaton Country 8 ply on sale so I bought some in different colours that I thought looked good with the mustard.


Now my dilemma: Do I make it in one colour ...


....or multi coloured stripes?


I do love colour. And like to wear lots of colour. Perhaps without the pink??? I don't know! Help!

Monday, August 19, 2013

Mexican Monday - My Other Mexican Jacket

 Well....it's not really Mexican.....and it's more of a coat than a jacket.........
It's vintage, made in California in THE MOST AMAZING FABRIC, see?


The colours! The pattern! Gasp-a-rama! And it's all cotton and lined in hot pink. It's everything I love! It's my favourite item of clothing right now.

What do you think? Too much? Does the pattern give you a headache?

Wednesday, April 4, 2012

COLORIFIC!

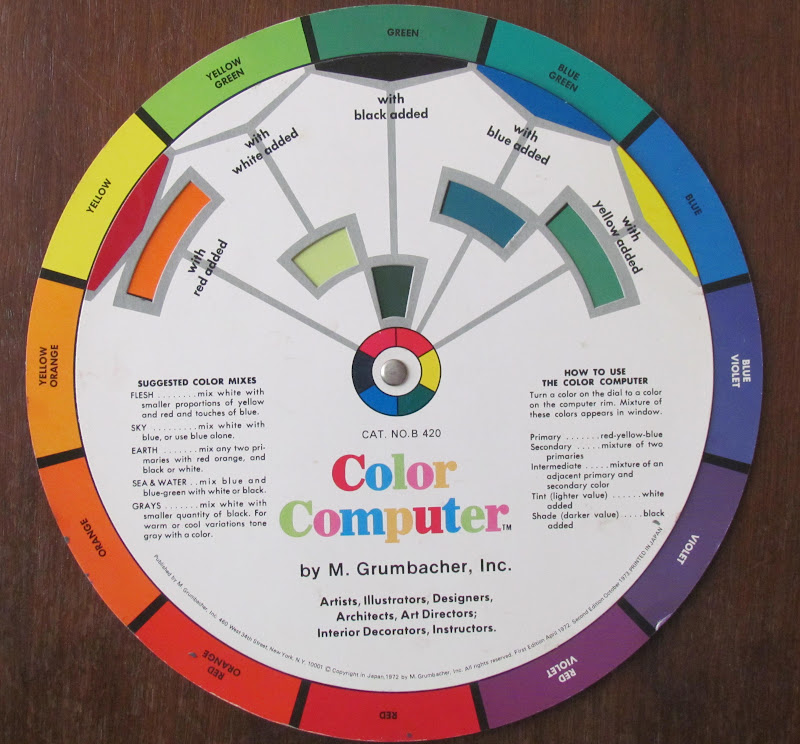
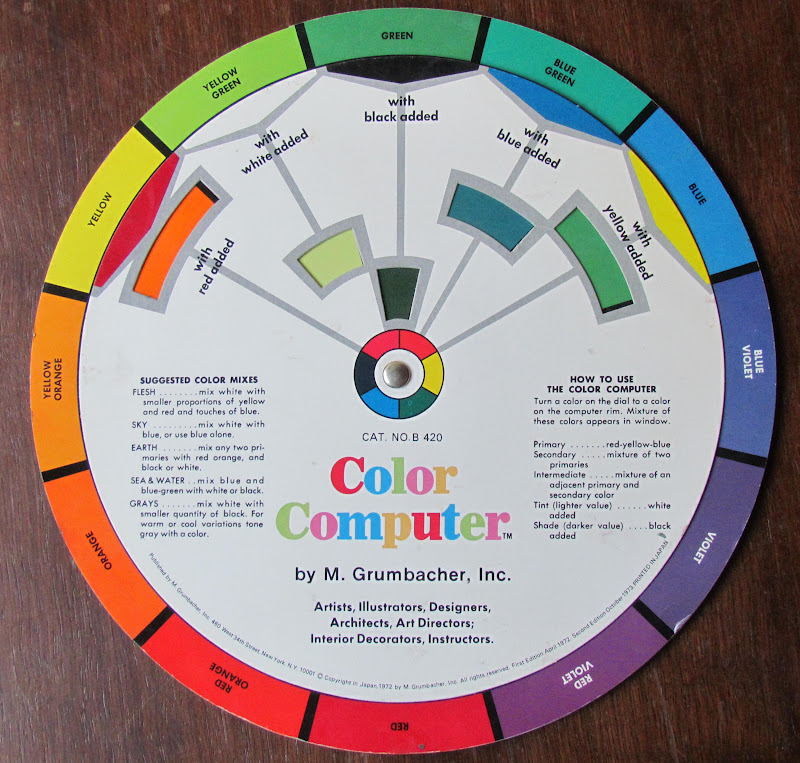
Pepper found this colour wheel "color computer" on her way home from kinder amidst a pile of stuff being thrown out. We had to have it! And we have been having lots of fun "programming" the "computer" and seeing the results.
This is the reverse side - complementary harmonies and analogous harmonies! I should probably consult this before I dress each day...


Tuesday, April 3, 2012

Ribbed Boot Toppers Tutorial

Ribbed boot toppers tutorial


Select your colours –  the ribs need to be about 6-8 cm in width. You will need matching cotton as well, pins, scissors and sewing machine.

  Cut ribbing to length - to go around your calf with a 1.5 seam allowance. I cut them to 28 cm. This can always be trimmed later.
 
Start from the top:
The first rib folds back onto the boot topper. To do this you need to stitch the RIGHT side of the top colour to the RIGHT side of the second colour at the top edge
 
Make about a 1 cm overlap.
Make sure you are stitching the cut side of the rib - the other edge is like a selvage and won’t fray. 
Pin in place.


It will fold back like this.....


Zig zag across on the top colour (in this case red) and then....


turn over and zig zag the edge of the second colour (in this case pink). Now you have the top two colours. 


The third colour (here it is aqua) is placed underneath the second (pink). The stitching is hidden under the overlap of the first colour (red in the photo). 
Make sure you place it where the top fold back will cover the stitching. 


  Pin the right side of the third colour to the wrong side of the second. You can pin away from your stitch line so the pins can stay in as you sew.Zig zag on the wrong side along the edge of the third colour (in this case aqua). 

  I like to use a cotton colour that matches the colour you are sewing to (in this case pink)just in case the stitches can be seen.

Continue on until you have as many colours as you like – I do about six for children’s legwarmers and 3-5 for boot toppers.

Again, make sure the new colour is attached where the over lap of the colours before will hide the stitching.

Make sure when you are sewing on
a new colour you fold up the colour overlap before you sew.
This is how the right
side looks....
Wrong side above and right side below....


Fold back the top cuff (in the photo it’s the red)and pin all the overlaps in place. Stitch down each side with a zig zag.
Then Fold right  sides together and pin. Make sure the stripes 
line up.


Press the seams...and I hand stitch the top and bottom edge of the seam in place.....


 (You could just overlock it together and skip the last few steps but I like a flat seam.)

NOTE: The worse thing about these is changing your cotton and bobbin colour. If you make them tonal you can find one colour that suits all the colours. Phew!

See more of the toppers here...

Monday, April 2, 2012

Bubble and Squeak 2

Yes - I'm using up the left overs again and making something pretty yummy.
The Sister outlaws are in studio sorting and moving mode. Going through the scraps I found our big bag of ribs....and got thinking....and playing..........and made some boot toppers and kids leg warmers.


You can dress them down....


or dress them up..
It gives the look of folded sock tops in a few colours without the bulk.


And the kids legwarmers look like rainbow brite legs!


Thanks to my friend Cleo who returned from her Christmas jaunt to London with the news that "boot toppers" were "in". Which I can well understand because I hate having cold ankles. I was thinking of selling these but I think I just want to play dress ups and wear them! Will show you a tutorial tomorrow.....promise... And by the way.....taking photos of your own feet is quite tricky!
 

Monday, March 26, 2012

Painted Tiles


These tiles around the old fireplace were originally many shades of beige and brown. Hmmm... Not really my cup of tea!
As part of the gradual Mexican make over creeping through the house,I decided to paint them. The geometric design seemed to suit a Mexican feel - they just needed some COLOUR with a capital C O L O U R- and if any colours deserve to be in capitals, it's HOT PINK and ORANGE. 
Sorry! There isn't a before picture but this is early in the process!
When I explored the idea of painting tiles it suddenly became a bit complicated and expensive! That's because I went the the hardware store. The hardware store suggested special tile cleaner ($$ca-ching!$), tile primer($$ca-ching!$)and special tile paint ($$ca-ching!$). But as this wasn't a wet area or going to get much wear and tear, I decided  just, simply, to paint it!!!
I cleaned it well and primed it with some acrylic house paint. I painted the first lot of tiles using a cheap mis-tint I had out the back. It's an orange oil based gloss I have been using on the picture rails. Being oil based and thin it was a pain to paint with. Not recommended!
But I even liked the tiles at this stage... 
Next I actually had to open my wallet (and watch the moths fly out!) and buy a test pot of HOT PINK which was more than enough to complete it. 

But the best trick was the grout pen! Found at the hardware store, the pen is easy to use and finishes off the tiles well. The white grout lines are just drawn on!
Next were the floor hearth tiles. A little tricky because the surface is uneven but it looks neat enough (hooray for no more gaps!) and lastly a frame edging (cut to size by our good friend)made from left over architraves from earlier wall rearranging. I painted it with two coats of acrylic gloss and stuck it on with liquid nails.

Add some all important donkeys and voila! All in all, a cheap Mexican make over and a major improvement on the brown tiles and rough edged gaping hole that was there.
Oh and just a note about the fish tank. My partner has had this fish for years and looks after him well. He has thought long and hard about the clean fish bowl idea and has come to the conclusion that a fish would prefer a bit of privacy and somewhere to hide. More like a pond. The water on the inside is clean! No fish OR donkey were harmed in this renovation.